


Photo by Gabriel Heinzer on Unsplash
How to set up WSL for NodeJS Development
A tutorial on setting up Windows Subsystem for Linux for NodeJS development on a Windows machine.


Getting Started
Check build version
Before we begin, ensure that you are using a recent build of Windows 10 or 11. If you are using an earlier version than Build 20262, this will not work!
Installing WSL
To install Windows Subsystem for Linux, open up Powershell on your PC and enter the below.
wsl --install

If you run into any issues with this, see the Troubleshooting Guide.
Initial Setup
Once WSL has been installed, reboot your computer. This step is important to ensure it is setup completely.
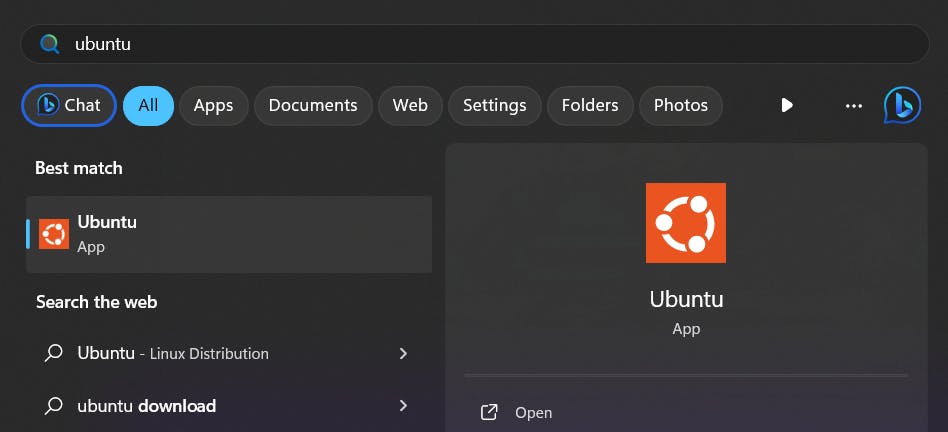
After rebooting, if Ubuntu does not open automatically then open the Ubuntu app from the start menu.
You will be prompted to set up an account for your Linux system, so go ahead and do this.

Note that when creating a password, nothing will appear on screen. This is called "blind typing" and this is completely normal.
Once you create an account, this will be your default user and automatically sign-in on launch.
This account will be considered the Linux administrator, with the ability to run
sudoadministrative commands.

Ensure packages are up to date
It is recommended that you check for package updates after installing. Windows does not update or upgrade these automatically, so to do this manual process you should run:
sudo apt update && sudo apt upgrade
in your ubuntu shell. It will ask for your password and then permission to install.


Install NodeJS & npm via nvm (Node Version Manager)
It is recommended to use a node version manager when installing NodeJS. The reason for this is that you will likely require different node versions based on the needs of the project you are working on. NVM easily allows us to switch between different versions on the fly.
Open your Ubuntu WSL command line and enter the below command to install cURL, a tool used to donload content from the internet in the command line.
sudo apt-get install curl
Once installed, enter the below to install nvm.
curl -o- https://raw.githubusercontent.com/nvm-sh/nvm/master/install.sh | bash
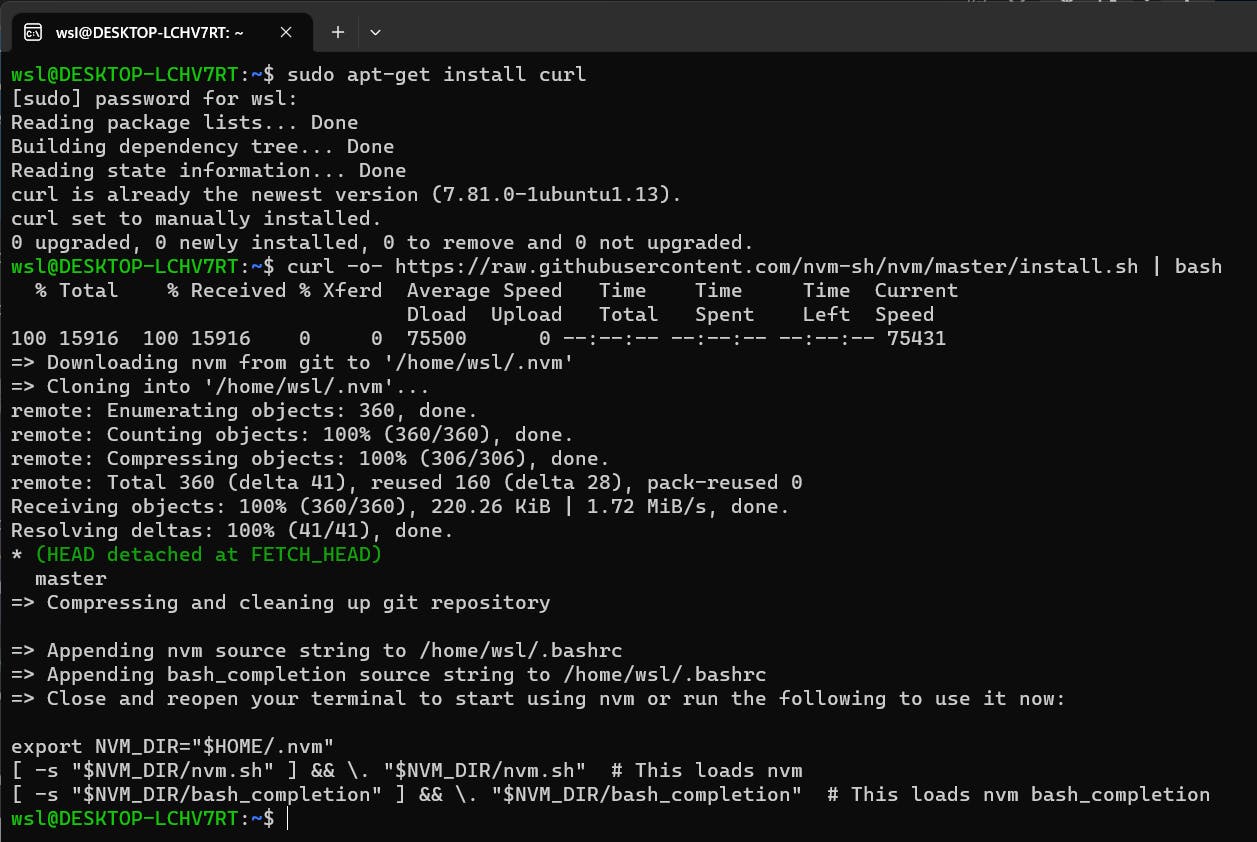
For this new install to take effect, you're going to need to close the terminal and open a new one.
Now let's install the latest LTS version of node, by entering
nvm install --lts

Setting up VS Code with WSL
Getting Started
Before starting, make sure you have installed Visual Studio Code to your PC.
Visual Studio Code, along with the WSL extension, enables you to use WSL as your full-time development environment directly from VS Code.
Installing the Remote Development Extension
Go to the Remote Development page and press Install. It will prompt you to open Visual Studio Code.
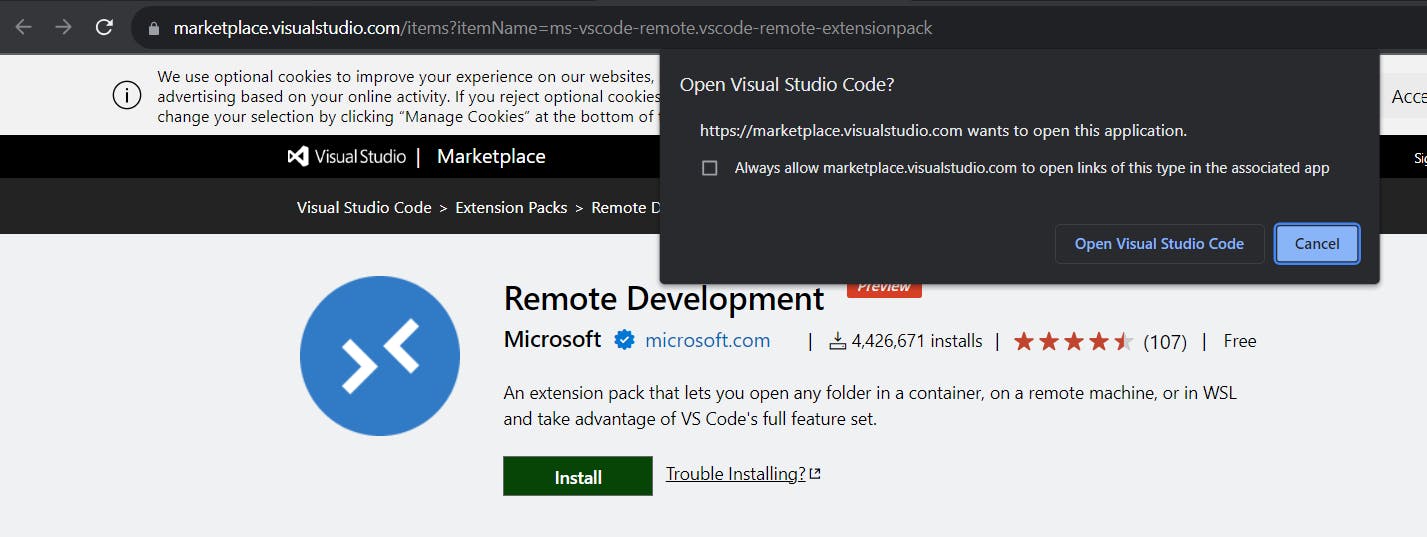
This will open Visual Studio Code and here you can press Install.

Setting WSL as defualt terminal
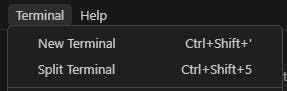
Open a terminal window inside VS Code by pressing Terminal -> New Terminal in the toolbar.
This should open a powershell terminal. To change the default to your WSL terminal, click the arrow beside the new terminal option, at the top right of the terminal, and choose Select Default Profile.
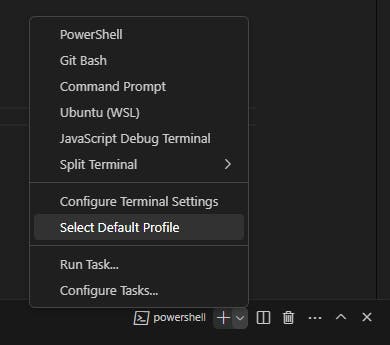
You are then prompted to select the default profile. Here, choose Ubuntu (WSL) as default.

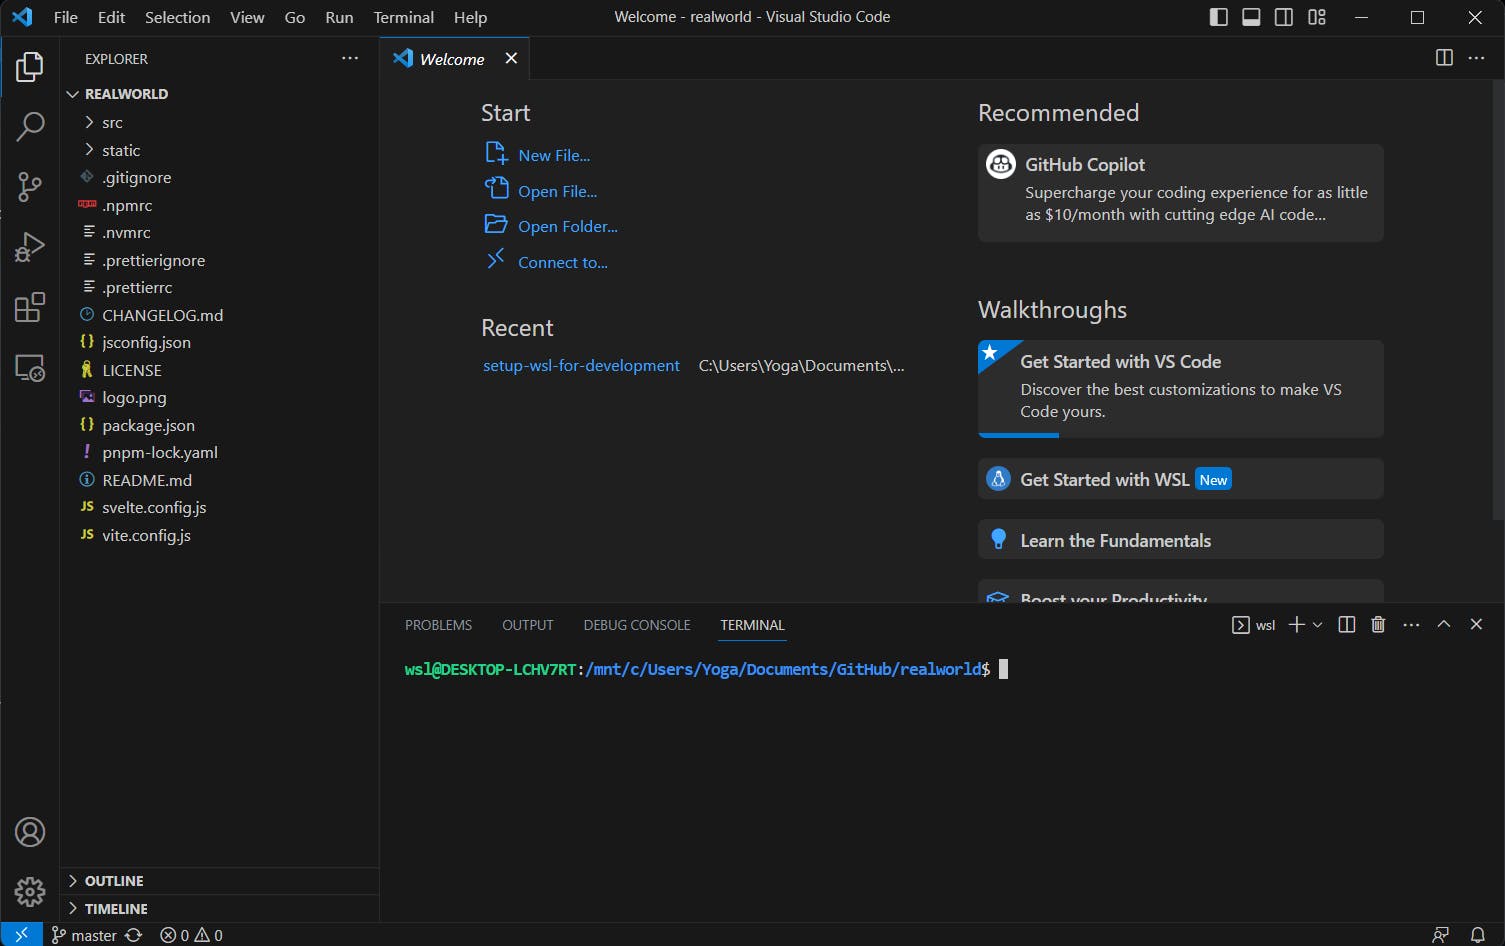
Go ahead and open an new terminal, and it will be using WSL as default!
Using WSL & VSCode
Running a simple project
Let's try out our new set up and try running a project using Visual Studio Code & Windows Subsystem for Linux.
In this, we will be using the Windows Filesystem to store files, and Windows Subsystem for Linux to run the application using NodeJS.
Clone a project
Using your favourite Git client, clone the sveltejs/realworld project. We will be using this as an example application to run.
Open up this project's files in Visual Studio Code and open a terminal.
Run the code
In the WSL terminal, enter npm install to install the dependencies.

Enter npm run dev and the app should run inside WSL.

Visit http://localhost:5173 in your usual browser and you will be able to access the application in Windows when it is running on the Linux Subsystem!
