


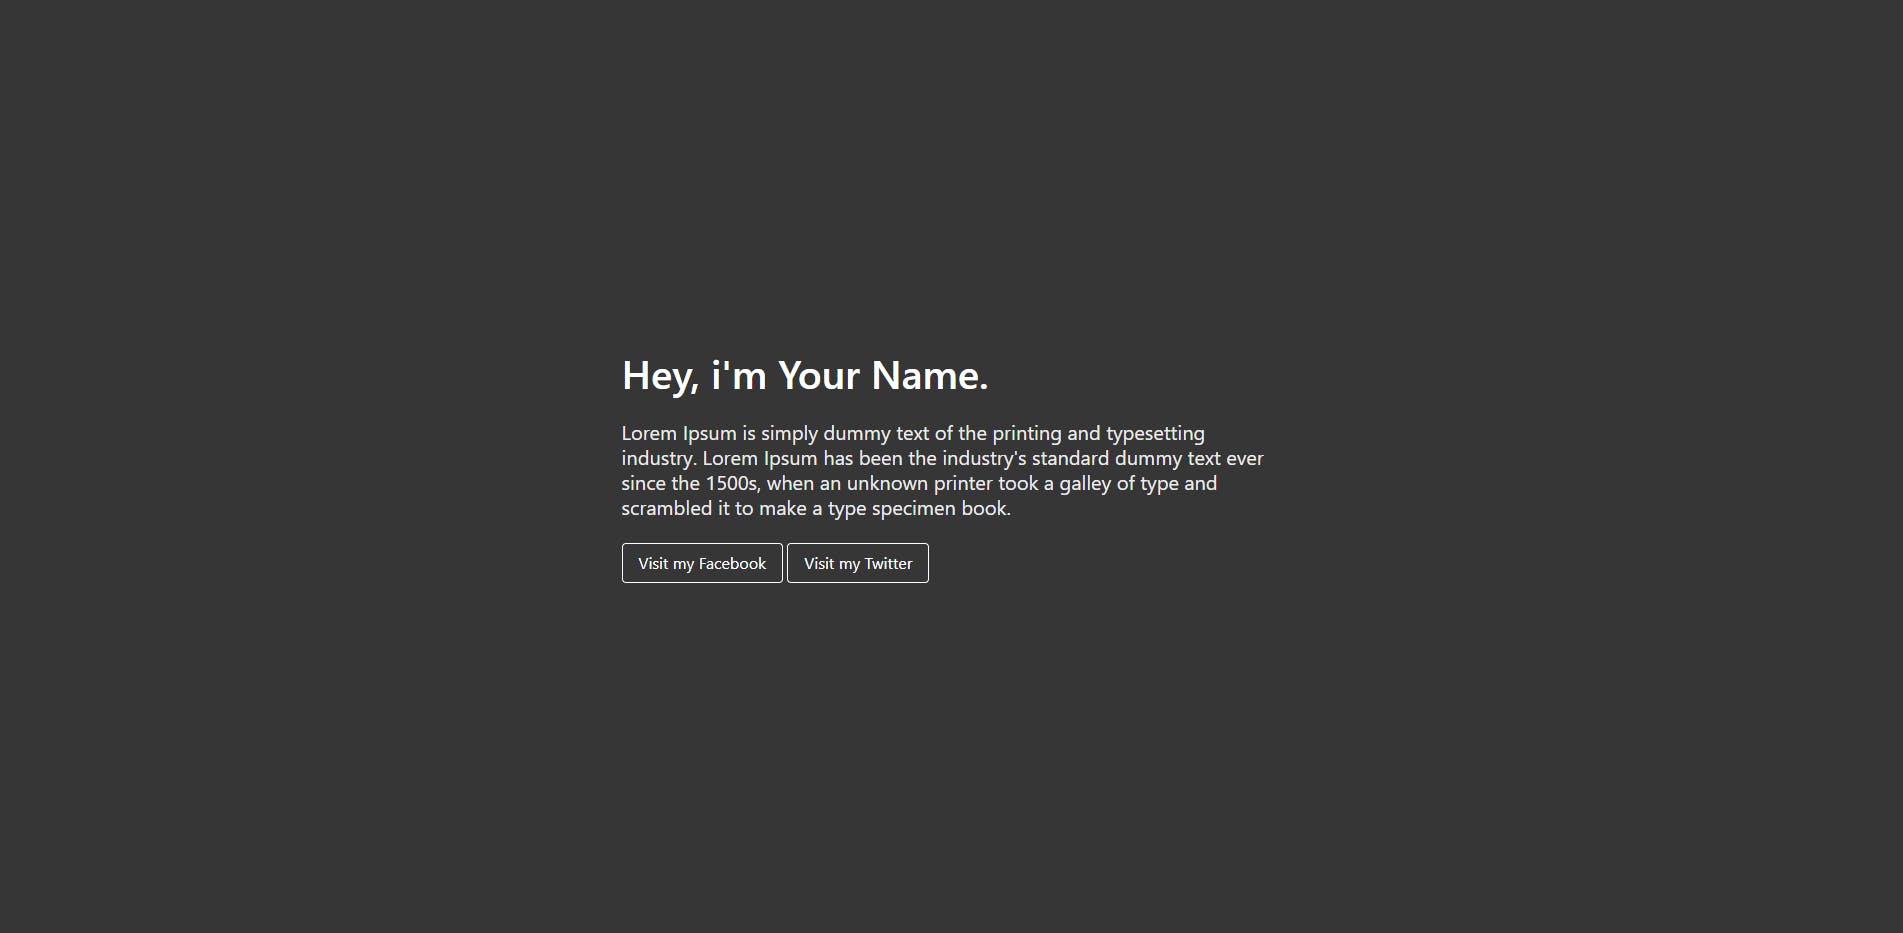
GitHub Pages is by far the best tool you can use for hosting a basic HTML website. In just a few minutes, you can turn a basic HTML template into a fully functional website, all for free. Below you can see an example of what we will be creating in this blog post.
In order to make GitHub Pages as accessible as possible, this guide is based around using the GitHub Desktop client and Visual Studio Code.
Getting Started
So, let's get cracking. First up, if you haven't got one already, you'll need to create a GitHub Account.

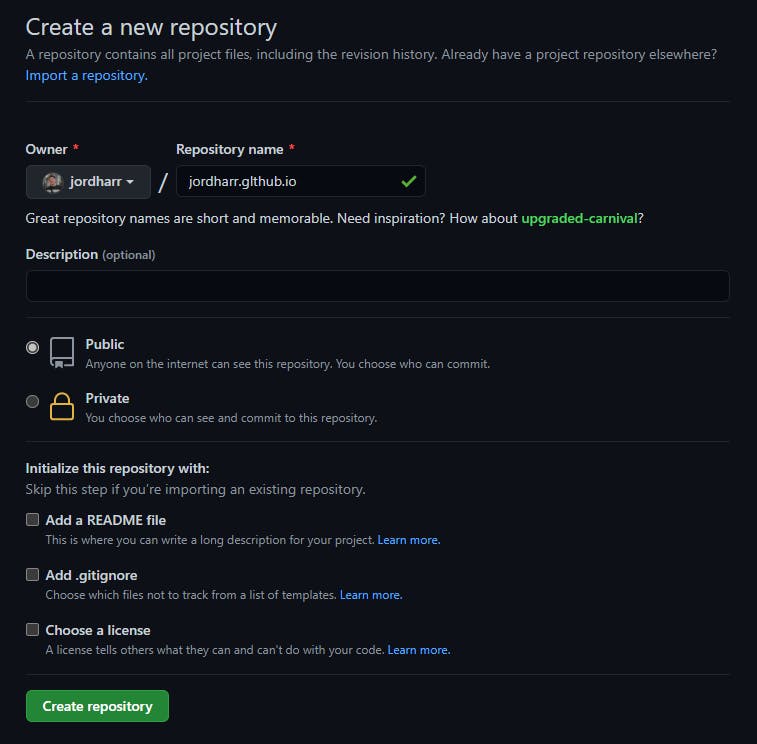
After creating (and verifying!) your account, you're going to want to create a new repository. Now, for this to work, you're going to want to name the repository with yourusername.github.io. As an example, my GitHub username is jordharr - so I would create the repository jordharr.github.io. See the screenshot below for a visual guidance. When you are done, click the green Create repository button!
Downloading GitHub Desktop and Visual Studio Code
We are now going to need to download & install 2 pieces of software in order to create and upload your website to GitHub.
First, download and install Visual Studio Code. This is a free code editor made by Microsoft, and has rapidly become an industry standard software for code editing. It is available on all platforms (Windows, Mac OS and Linux) so this will work for everyone!
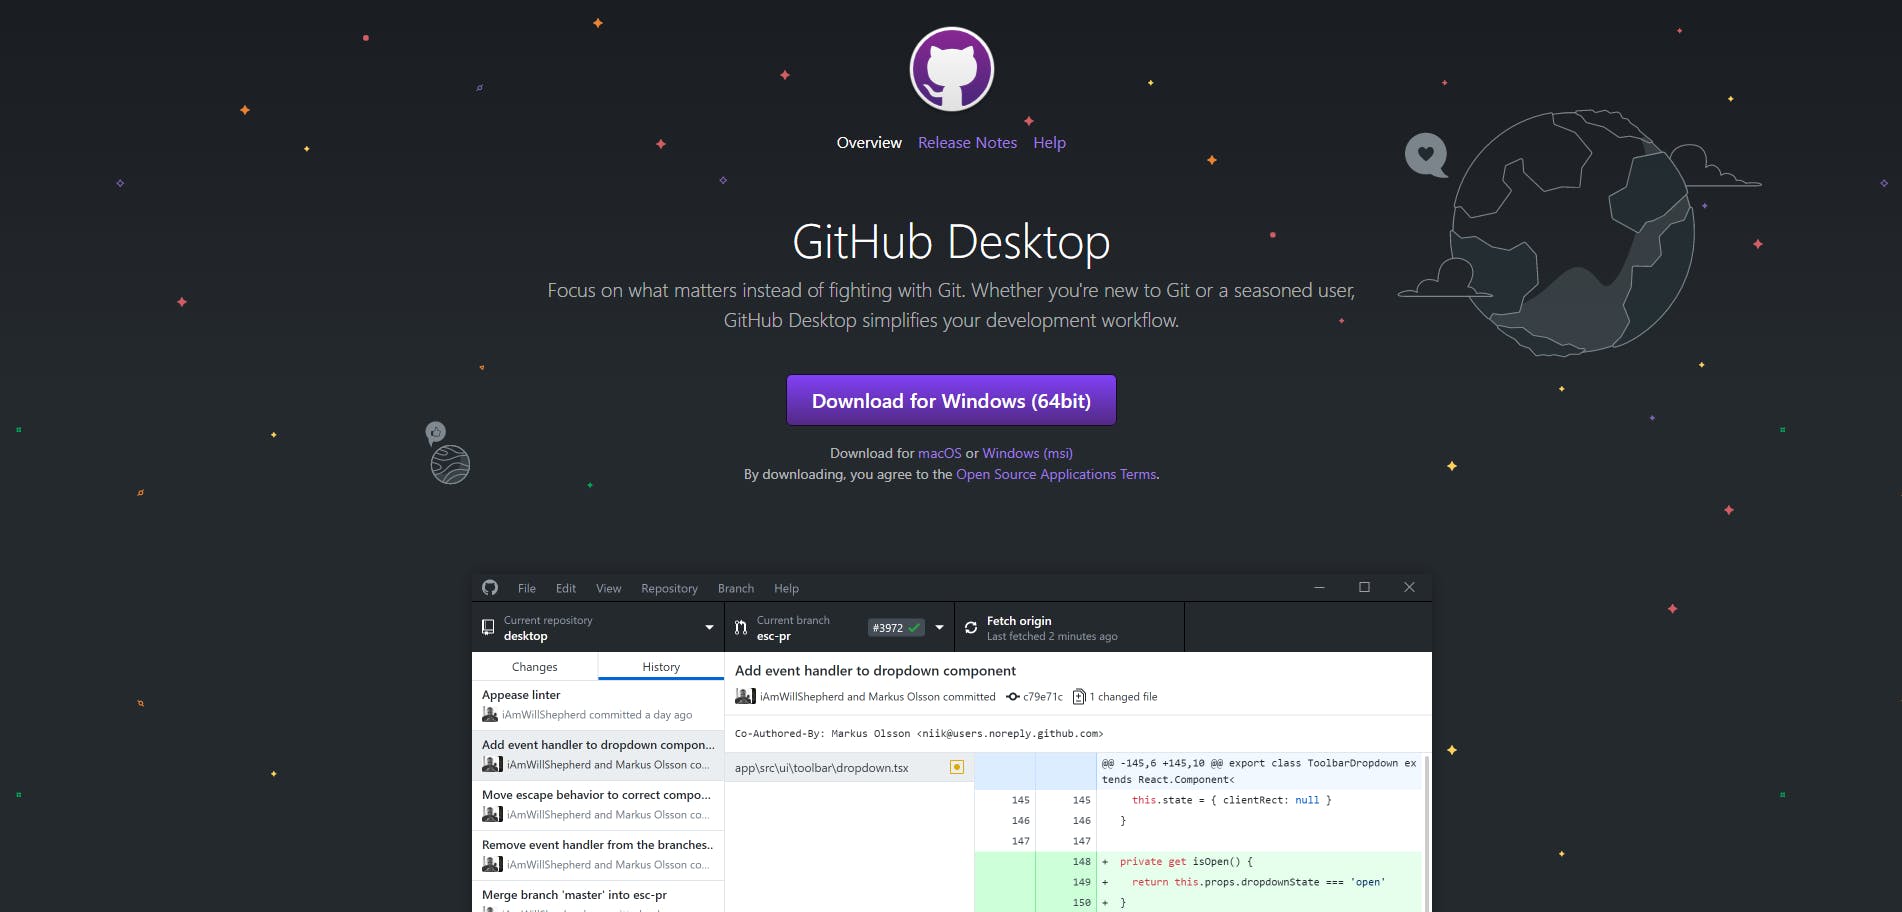
Next, you're going to want to install GitHub Desktop. This is a very simple to use software which is used to save your repository locally, and upload files to a repository. During this installation, you will be asked for your default editor (select Visual Studio Code), and then asked to sign into GitHub, to link your account.
Setting up your repository
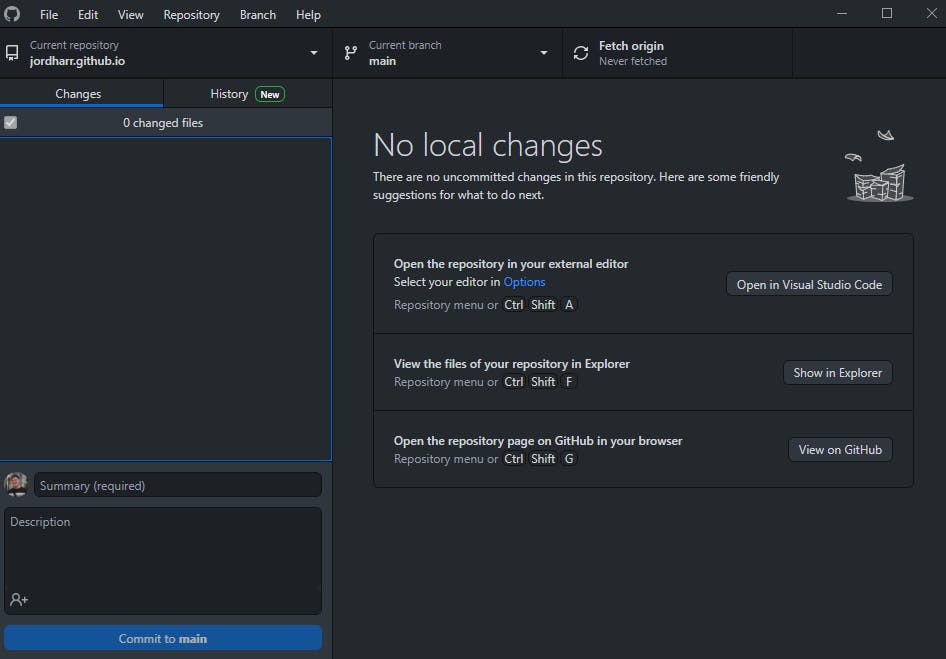
By now you have created an account, set up your website's repository and installed the required software. Next up, we're going to want to upload files to this repository to host our website. Once you have opened GitHub Desktop, press file and then Clone a repository... In the interface that pops up, choose the GitHub.com tab at the top, then select the repository we created earlier (yourusername.github.io) and press Clone.
Once the repository has been cloned, it will create a new folder as specified above. You can navigate to this folder in Explorer/Finder to verify that it exists. From GitHub Desktop, press "Open in Visual Studio Code" to open this folder directly in Visual Studio Code, which we installed earlier.
Creating a basic HTML website
Next, we're going to need to create a basic HTML website to upload to our repository. In the folder that opens in Visual Studio Code, which can be seen in the sidebar on the right, we're going to want to right click in the empty space and press New File. We'll call this file "index.html"
Once this file is made, copy and paste the below code into the file.
<!DOCTYPE html>
<html>
<head>
<title>Your Name's Website</title>
<link rel="stylesheet"
href="https://cdn.jsdelivr.net/npm/bulma@0.9.2/css/bulma.min.css">
<meta name="viewport" content="width=device-width, initial-scale=1">
</head>
<body>
<section class="hero is-fullheight is-dark">
<div class="hero-body">
<div class="container">
<div class="columns is-vcentered is-centered">
<div class="column is-6">
<div class="block">
<h1 class="title is-2">Welcome to Your Name's Website.</h1>
</div>
<div class="block">
<h2 class="subtitle">Lorem Ipsum is simply dummy text of the printing and typesetting industry. Lorem Ipsum has been the industry's standard dummy text ever since the 1500s, when an unknown printer took a galley of type and scrambled it to make a type specimen book.<br>
</h2>
</div>
<div class="block buttons">
<a href="https://facebook.com/"><button class="button is-white is-outlined">Visit my Facebook</button></a>
<a href="https://twitter.com/"><button class="button is-white is-outlined">Visit my Twitter</button></a>
</div>
</div>
</div>
</div>
</div>
</section>
</body>
</html>
You're going to want to replace anywhere it says "Your Name" with your actual name, the Lorem Ipsum text with about you, and the button URLs with your social links. Once this is done, press your keyboard shortcut to save the file (CTRL+S for Windows, Command + S for Mac).
Pushing to Github & GitHub Pages setup
Now this is done, go back to GitHub Desktop and you will see that your new file is showing in the interface. We now need to "commit" these changes, and "push" them to GitHub. To do this, we press "Commit to main" at the bottom left, then at the top right press "Push origin".
After this, open up your repository in GitHub on your browser. You can do this by clicking "View on GitHub" in the desktop app, or heading to github.com/yourusername/yourusername.github... That will bring you to a page similar to below.
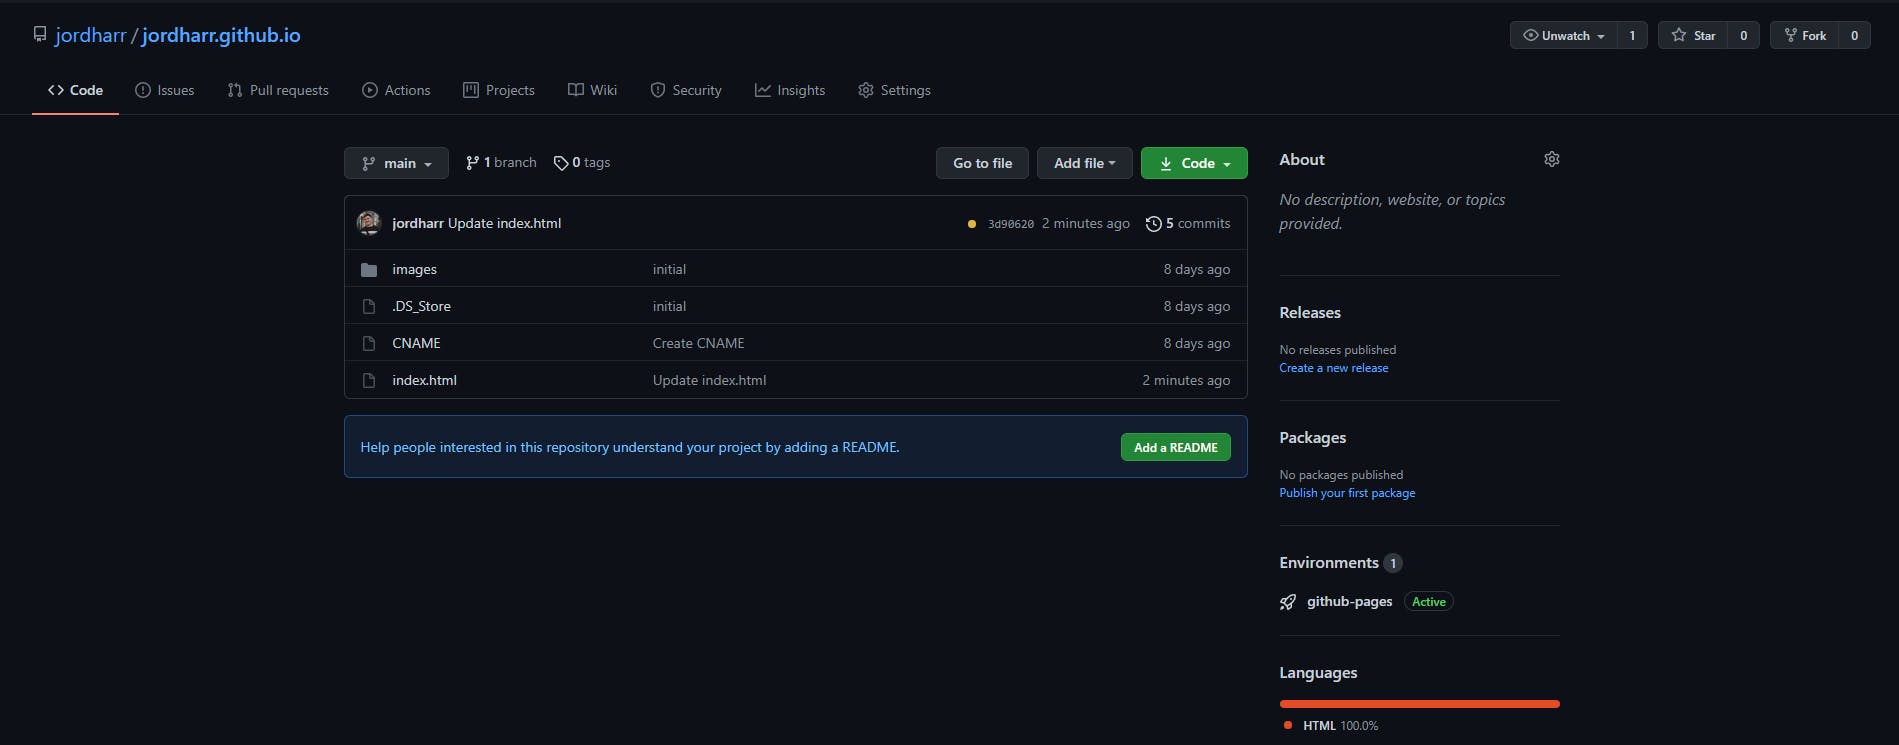
From here, go to the Settings tab at the top, and then on the left hand menu choose Pages. Once here, under the "Source" section select main, and then press the save button to the right hand side.
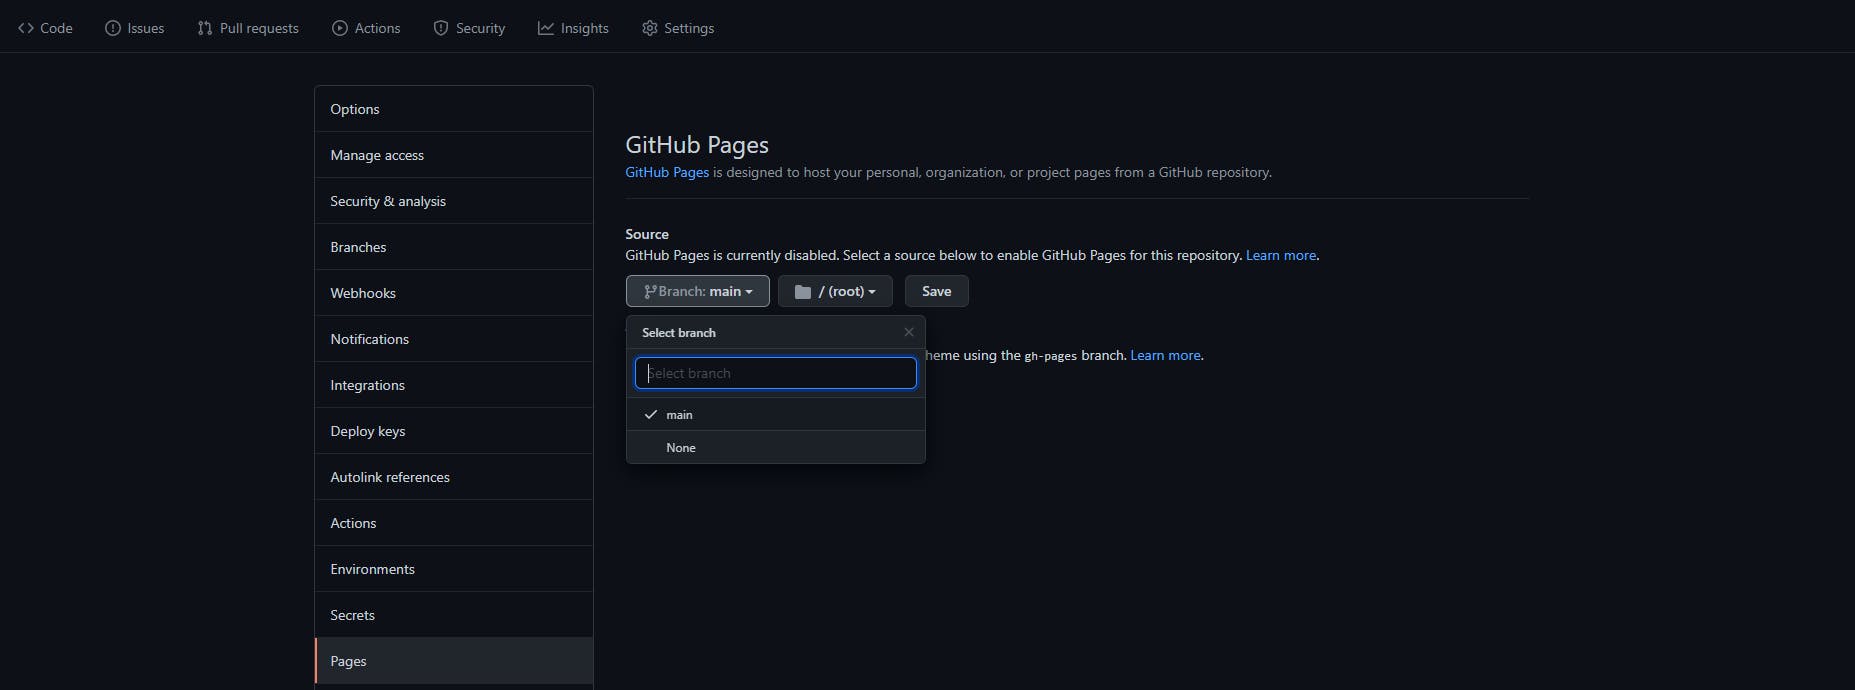
Once you have saved, wait 2 minutes and the URL that displays will be live, and your website will be hosted (free of charge) by GitHub Pages!
Cover Photo by Emile Perron on Unsplash